
 1. Paint a 13 inch X 13 inch sanded square of plywood, front and back, with red craft paint.
2. Lightly mark 8 (1.5 inch) lines vertically and horizontally, leaving a .5 inch border.
3. Using masking tape, tape off .5 inches for the border, then tape along alternating vertical then alternating horizontal lines. This will only give you half of the squares to paint, it will have to be done in two steps.
4. Paint the open green squares, then when the paint is dry, remove the tape and tape off the alternating vertical and horizontal lines to give you the remaining squares and paint those too.
5. Cover the entire board with a layer of protectant, such as Mod Podge or Varnish.
6. If desired, glue squares of felt to the back to prevent scratching on the table surface. I also made a fabric pouch in which to store the pieces for storage after the holidays.
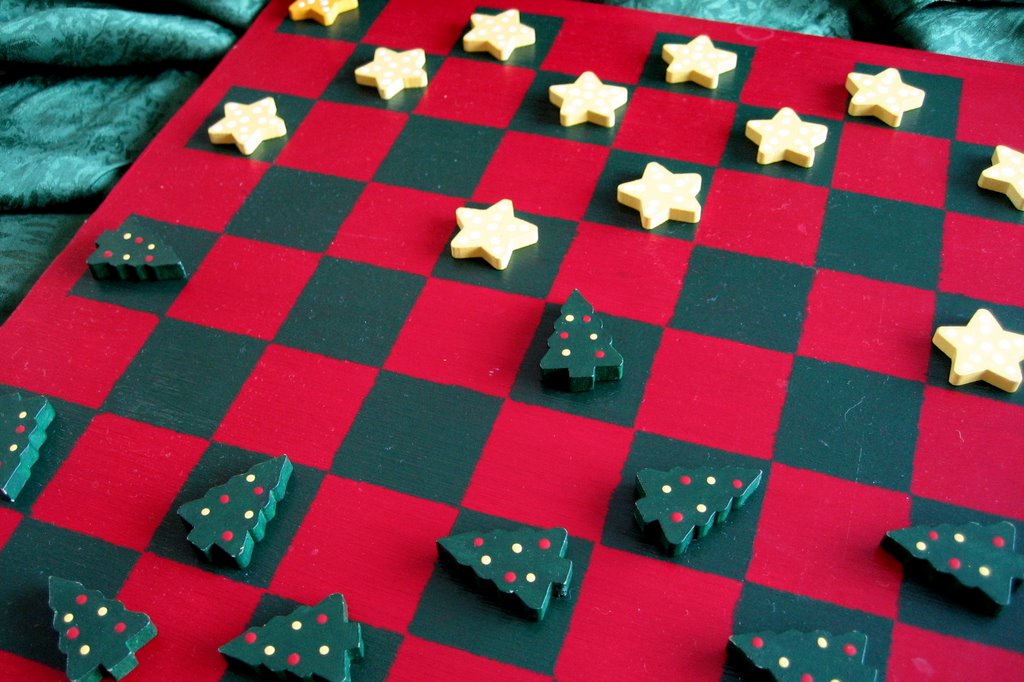
7. For playing pieces, I painted wooden stars and trees and, using the head of a pin, made dots of red and yellow for tree ornaments. Pieces could also be Hershey's kisses, buttons, M&Ms, peanuts, even Cheerios if you wanted. Using different things will make it new and exciting each time.
Here are some other great links for Christmas ideas:
Amy at Motherload has a list of Christmas called, appropriately, Every Post You Need for the Holiday Season.
Melissa at Buzz Off has her own crafty ideas for the holidays, her post is Please Save Yourself from Trouble and has some good suggestions about games.
Two Moms In A Blog share great tips on running a buffet. Their Holiday Buffet Tips link is here.
Check in with Rocks in My Dryer every Wednesday for other good tips.

Technorati tags: Christmas, games, WFMW holidays
12 comments:
That is SO cute. I aspire to be crafty enough to do these kinds of projects. Right now, a plain old scrapbook is kicking my butt so I don't have much hope that I could do this project, but it looks very nice!
Oh, I like this! Very crafty. Thanks for sharing such detailed instructions.
I’ve posted a 12 lbs ‘til Christmas WFMW tip.
Very cute. And very crafty. I'm not so crafy so I will not be attempting this...
This is great for when older relatives stop by. Gives them something to do with the kids and makes conversation easier.
Super job. Takes skill and lots of work.
Wow, this is beautiful! You should be so proud! I will have to try this when my kids get a little older. Thank you for the idea and for mentioning our blog!
Very cute! My girls would love (and then fight over) something like that!
Great idea! And so (relatively) simple :-)
That is, I might make my own adjustments...cardboard and, um, clay?
Great project. I may have to try this one.
Been trying to leave you a comment... Ain't working tho.
Lisa B
Midwestern Mommy
Ok. That comment worked...
What I wanted to say was I envy your crafting talent. Project looks great!
-- Lisa at Midwestern Mommy
Post a Comment